If you are like me, part of purchasing something is the packaging and presentation of that product. Building a custom computer for many means a glass side panel to showcase the inside in all its RGB goodness. The boxes those items come in deserve to be on display as well, and hence this project was born.
Below is a photo gallery from start to finish.


This was not my original idea – the credit goes to Reddit users ManemCho and snubdusphenoid.
Getting Started
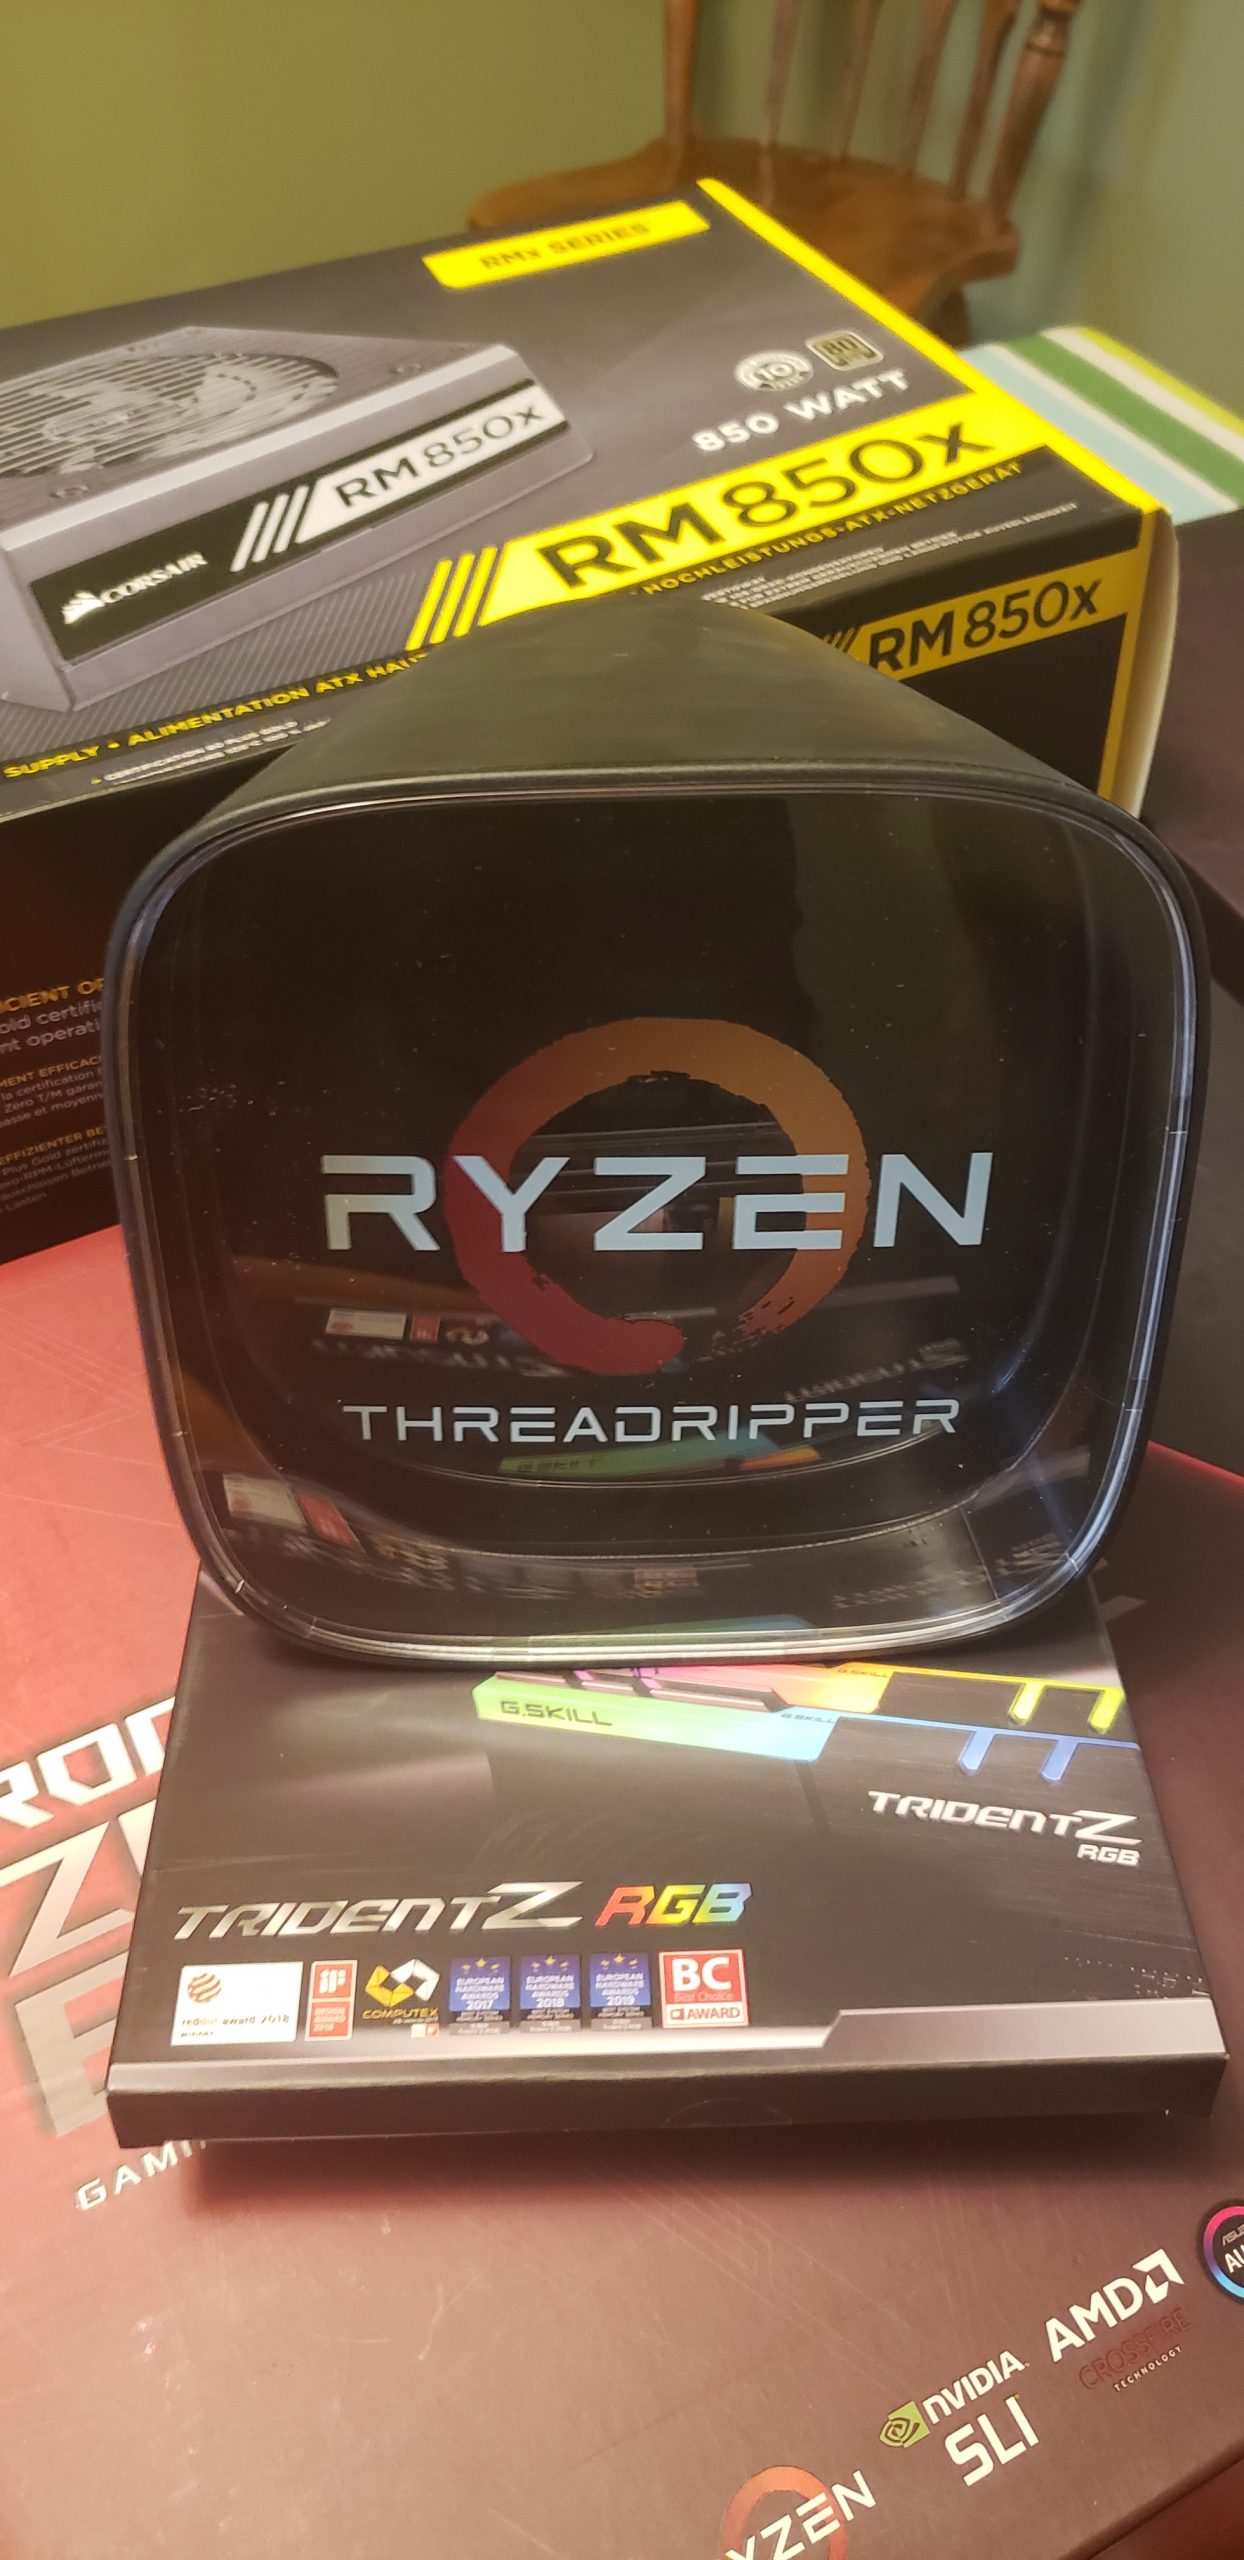
The first step is gathering your boxes and keeping them in a safe, clean area. Stay away from stacking other objects on them or sliding across them. Unlike me, hopefully, yours don’t have stickers on them placed by online retailers for their inventory or shipping. Also, my CPU cooler box had some damage from shipping that kept me from using the primary graphic on it.
Items that you will need:
- scissors
- paper cutter (preferably a guillotine design)
- double stick tape
- razor blade
- ruler
Next is deciding what size frame to go with. I decided to go with a 22 3/8″ by 34″ poster from Amazon. Now here is the first of things I would change if I were to do this project over again. Instead of purchasing a poster style frame where the borders slide on from the sides, I would advise you to go with a traditional picture frame where you lay your image into the frame and drop the back on afterward. This will make the final step much easier – but more on that later.
Decide what graphics you want
Layout all your packaging and decide which ones have the best graphics that you would like to include in your display. You are not limited to just the front or back, look at the sides as well. Keep in mind that you will have smaller spaces on your poster that will need to be filled. Looking at examples, brand logos and spec charts both look great as well. Get an idea of the design you want to go with. I prefer having the main layout go horizontal so that it is not flat. Also, don’t frame everything into squares; run your images off the border to make it more interesting to look at.
Breaking down the boxes
Next is cutting apart your boxes. I went along the bend lines, giving me a front, back, and four sides. My CPU was not in a traditional box but was fully plastic. I decided to take it apart to give me the Ryzen logo. Two plastic layers made the overall graphic. Due to this being one of the thickest parts, I placed it in the center, and as the CPU is the core of the system, it fits. Preparing the boxes was especially frustrating for me because two that I wanted to use had issues. The box for the CPU cooler was smashed beyond repair – refer back to earlier where I mention proper storage. The GPU had a fantastic shipping label right across the front. (Why Amazon decided to ship my GPU not inside of another box, I would like to know.) I wanted that logo on the poster, so I carefully pulled as much of the label off that I could. I then used Goo Gone afterward to remove the leftover residue. If you do not have Goo Gone or another type of adhesive removal, don’t try other homemade solutions, you may pull off more color or damage the box. I made this mistake as well as trying a few other homemade solutions. Doing so caused discoloration and made a noticeable difference in the area it was used on… and it did not remove any of the adhesive! Once the Goo Gone arrived, it came off in seconds and didn’t seem to discolor anything. Do it right the first time.
Laying out your ideas
Start playing around with the layout and location of each piece (sides) of the boxes. Don’t cut them smaller yet – leave them large and move them around until you get an idea of what you want. What graphics do you want to include, and what can you fill in the smaller spaces with? Don’t be afraid of losing some of the whole logo or graphic. This may even bring in more of an exciting look to the overall poster. During this process, set aside cuttings with no interest to you like damaged box sides, stickers, or solid colors, along with the smaller text you don’t want to include.
Once you decide on a layout you like, take a picture of it and leave it alone for a few days. Spend some time doing something else, then come back to it, walk past it a few times, and make sure you’re happy. I ended up changing my mind a few times – referencing the photos each time- before returning to an original layout.
Trimming graphics down to size
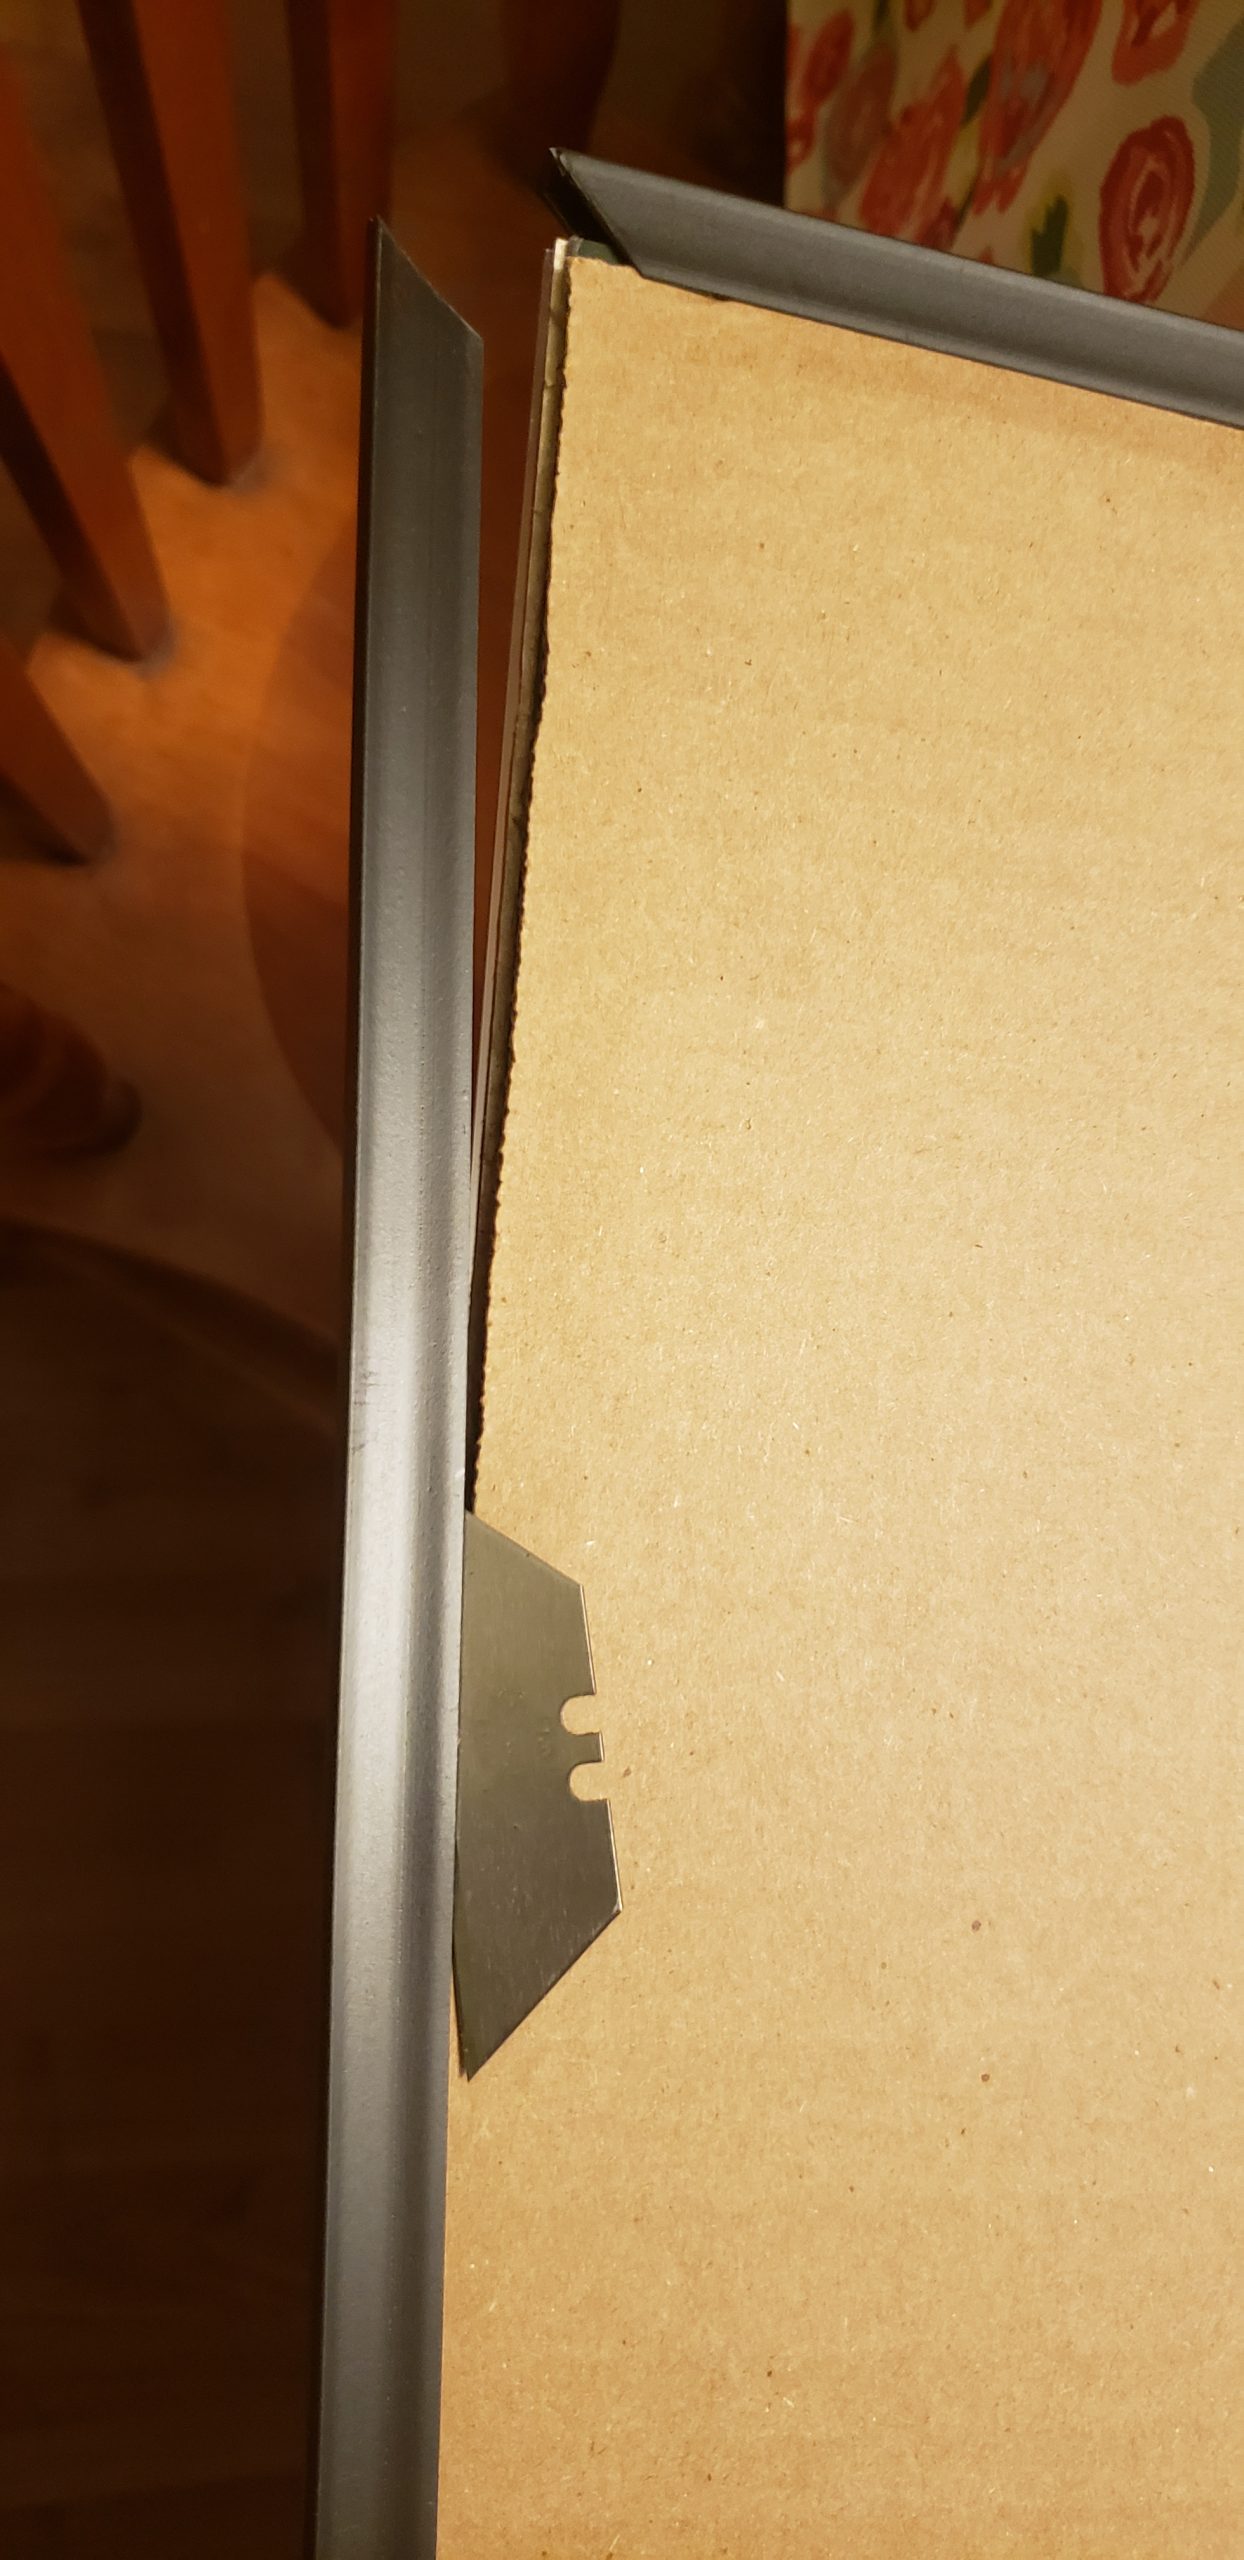
Once you are happy with the arrangement, it’s time for the final trimming. I let my poster board overhang the table and then took a pencil and marked the board around the bottom of each item. This way, I had a rough line and knew the orientation to cut in. Always cut larger and work your way down to a smaller size. You also want to keep in mind the spacing between and white space. Take care with this step as well. This is where a guillotine paper cutter would have been better than the style I had on hand. Mine didn’t cut entirely through the corrugated cardboard. To work around this issue, I used a razor blade to trim certain pieces.
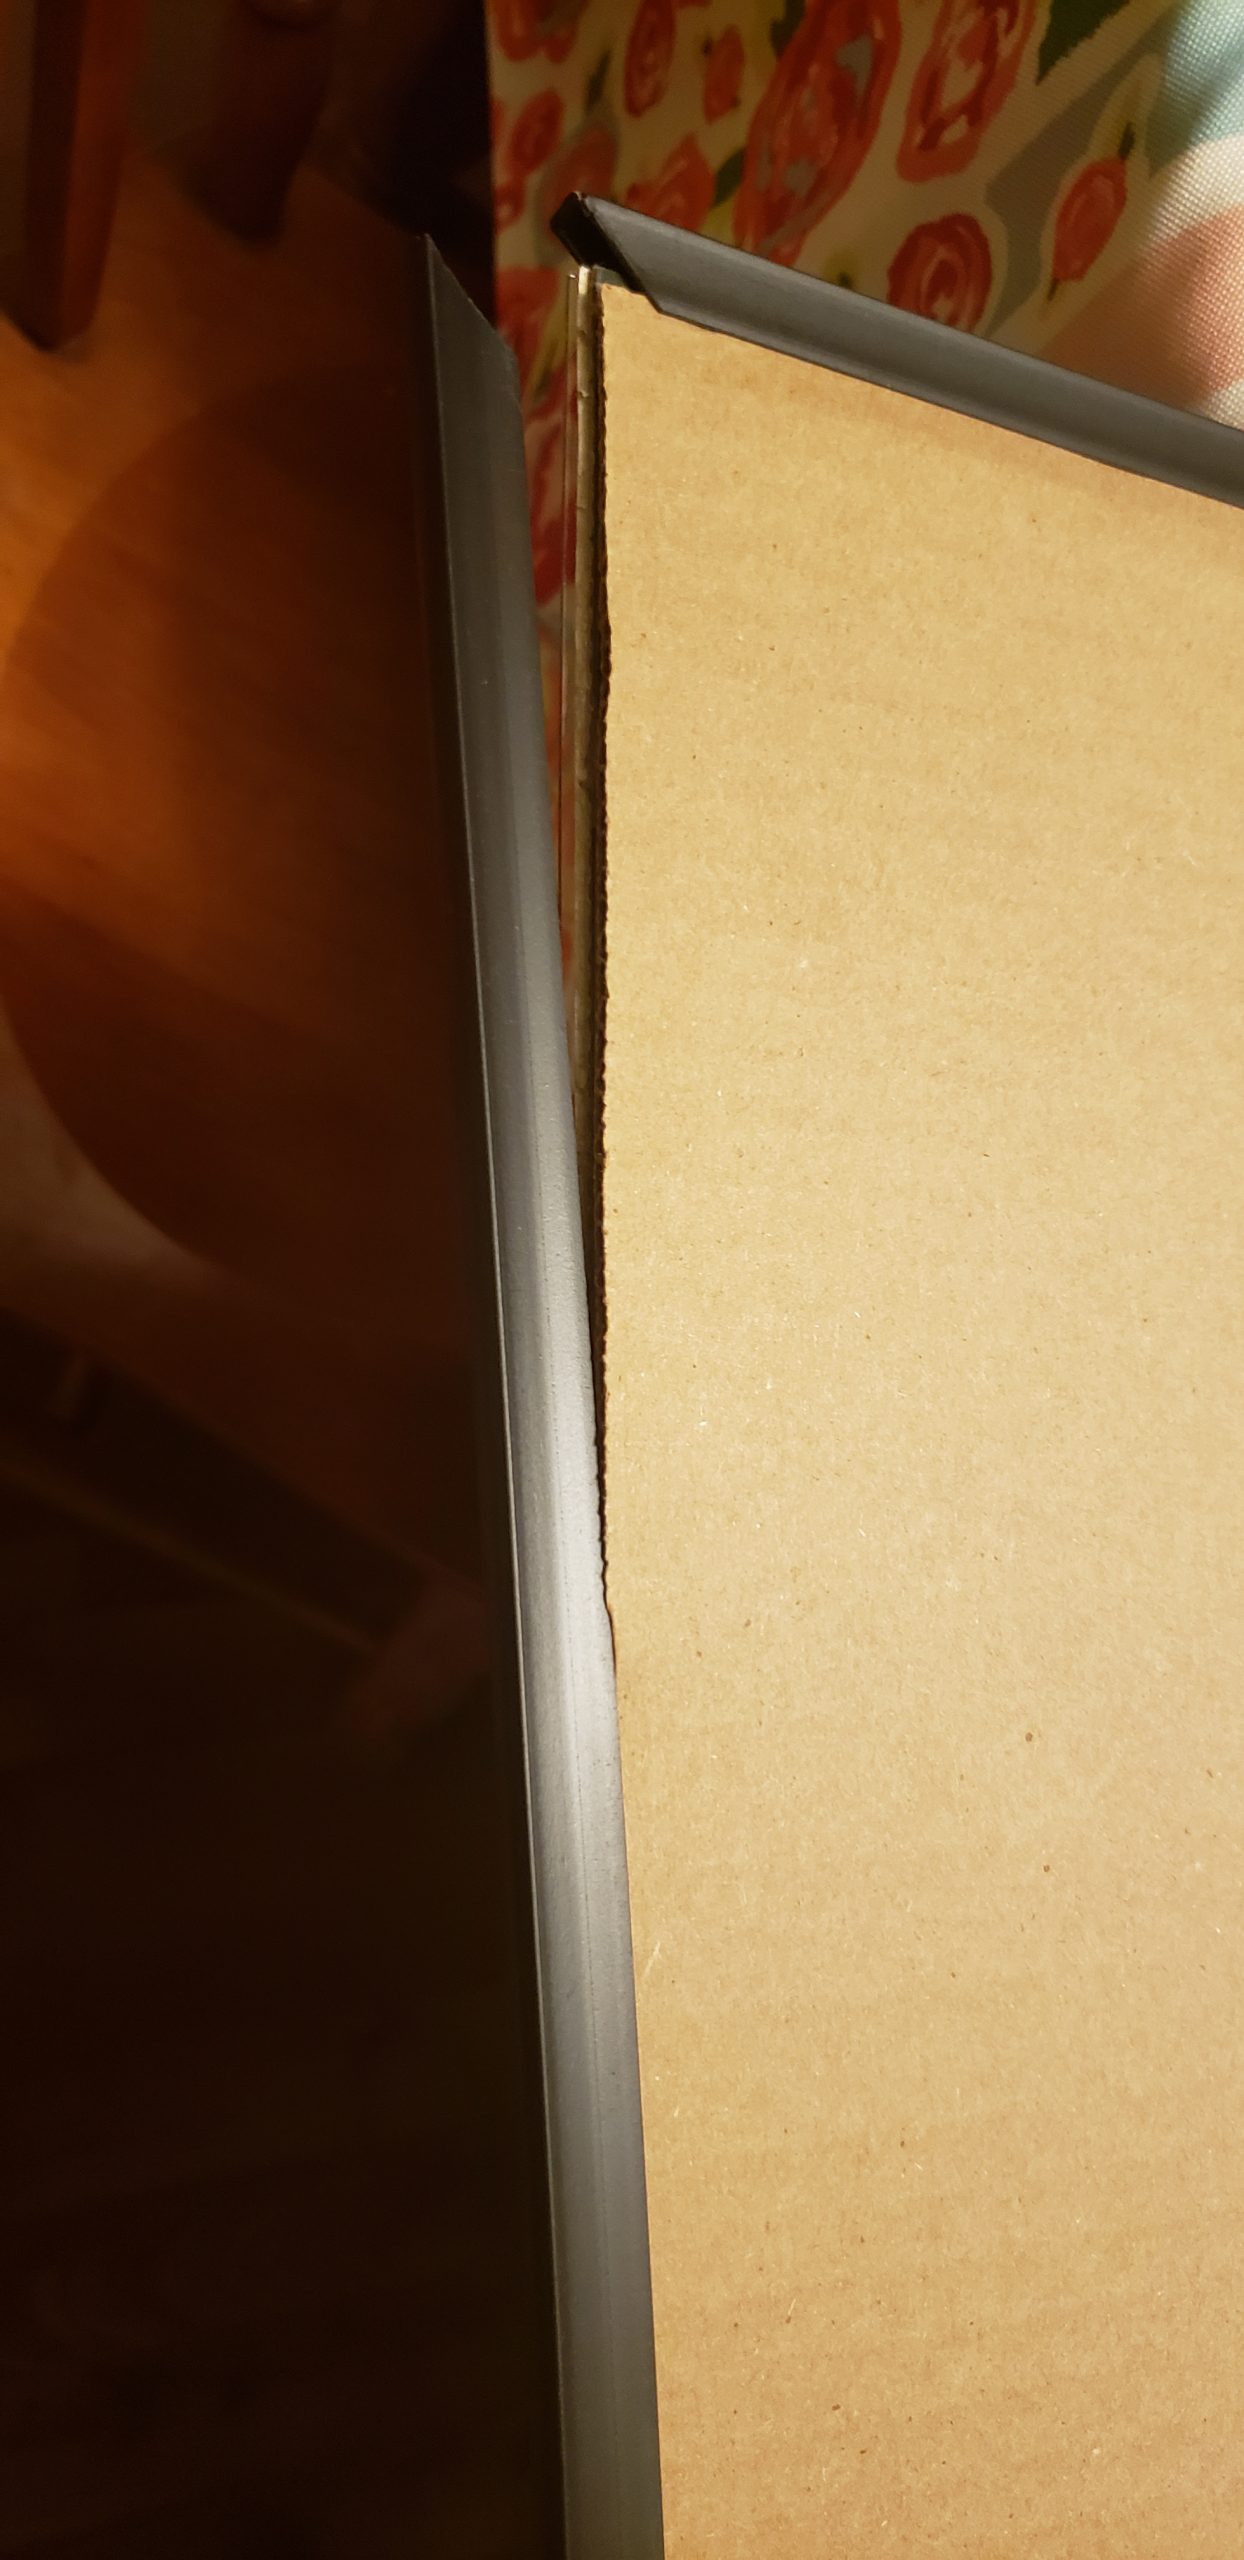
Taping it down
Once everything is secured into place, it’s time to install the border. If you went with the style of poster I did, this could be a frustrating process – especially if your boxes were thicker, corrugated cardboard. First, make sure you are placing the back in the correct orientation (hanger goes on top). I started in one corner and then slowly worked down to the opposite end. These borders only slide on about 1/2 inch, maybe even less. To aid in this step, I applied a large amount of pressure along the edge to flatten the cardboard to allow the board to slide over. I also used the razor blade to help guide the boarder over all the layers. This may be a two-person job if you are having difficulty. I repeated this process for each of the four sides.
Voila!
You are done! Now to hang the poster and showcase your computer build.
Items to improve on
- Keep better care of boxes
- Use a better paper cutter (guillotine design)
- A better poster frame that I could lay glass/ plexiglass into rather than slide on edge frame.
- Boxes that were not damaged in shipping or had stickers on (this is a benefit of in-store shopping rather than online)